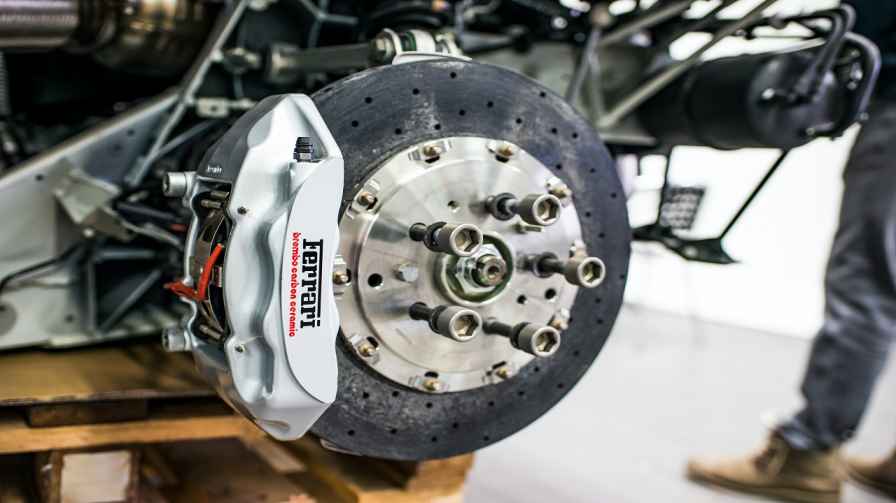
 A brake pad is one of the most important components using which car is stopped. Many underestimate its power, but it is essential to ensure the proper functioning of this unit. If you ask the expert team at our platform, it is the heart of the braking system that needs to keep in optimum condition. However, many people have a query in mind, i.e., “how to check brake pads.”
We believe that you have a similar query, and that’s why you arrived at this platform. Here, our expert team will tell you the right process to inspect the brake pads in your vehicle. All you need to do is sticking with us until the end, so you don’t miss anything.
1. Beginning the work
The thing that you need to assure before checking the brake is it should be cool. Please understand that even a 5 minute trip to the supermarket can keep it hot. Leave the breaks for at least half an hour before working on them.
The first thing to check is the brake fluid in your car. If it is dark, then it is time to change them with the fresh one.
2. Wheel Checking
It is quite a normal thing to see a cluster of dust on the brake pad. However, you will see that the level of dust begins to diminish once the brake pad is worn out. It means if you start to see almost little to no dust on wheels, it is time to buy a new set of brake pads.
Many people underestimate this thing that hurts them dearly in the end. However, you shouldn’t be one of them and take this thing seriously. Please let your mechanic having the final diagnosis.
3. Brake pad inspection without wheel removal
You can see the brake pad from the wheel holes in the majority of vehicles. Have you ever thought you can even identify brake pad’s life by identifying its thickness? All you need is a flashlight for having a perfect look at the brake pad.
If you believe that it is less than ¼”, then you should replace them straightaway without any wait. We understand that it may be hard to estimate thickness, but the good news is there is a wear indicator on almost every brake pad. It is usually located down the pad’s center making sure the user can see easily. If you can barely see the sign or it is already gone, you are good to change the brake pad.
4. Examination of brake pad after wheel removal
If you find it inconvenient to see the brake pad across the wheel, then it is better to remove it. Performing this thing will let you have a better look at the brake pad. To remove it, just place the jack under the vehicle frame so that the tire can be removed conveniently.
Elevate the car at least 7” above the leveled surface followed by unscrewing the nuts and keeping off the tire. Now, you can easily have a great look at the brake pad along with brake lines and rotor. Look out for excessive wear with a calm mind. As we have already told, it is time for changing the brake pad if it has a thickness of less than ¼”. Make an appointment with the car agency once you feel the brake pad has a lower thickness than .25 inches.
Conclusion
We believe that you now understand how to check brake pads without any technical knowledge. If there is a query in your mind regarding this process or any other thing related to cars, please write about it in the comment section.
Leave a Reply